In order to be able to install Windows 11, according to Microsoft, a TPM module version 2.0 is required. What exactly that is, whether your PC has it and how it activates it, we explain to you here.
What is TPM?
TPM is a small chip on the mainboard that is supposed to ensure that you can only install software on the PC that the manufacturer agrees to.
The abbreviation ” TPM ” stands for ” T rusted P latform M odule”. This is a small chip that is built into the mainboard and is supposed to make a computer system more secure. In particular, the chip prevents manipulation of the computer. That can be positive as well as negative. If the computer is protected from malware before it is installed, that’s good. However, if the user wants to install an alternative operating system such as Linux, and the TPM chip prevents that, then that’s bad. The TPM module can also be referred to as homebrew protection.

What does this have to do with Windows 11?
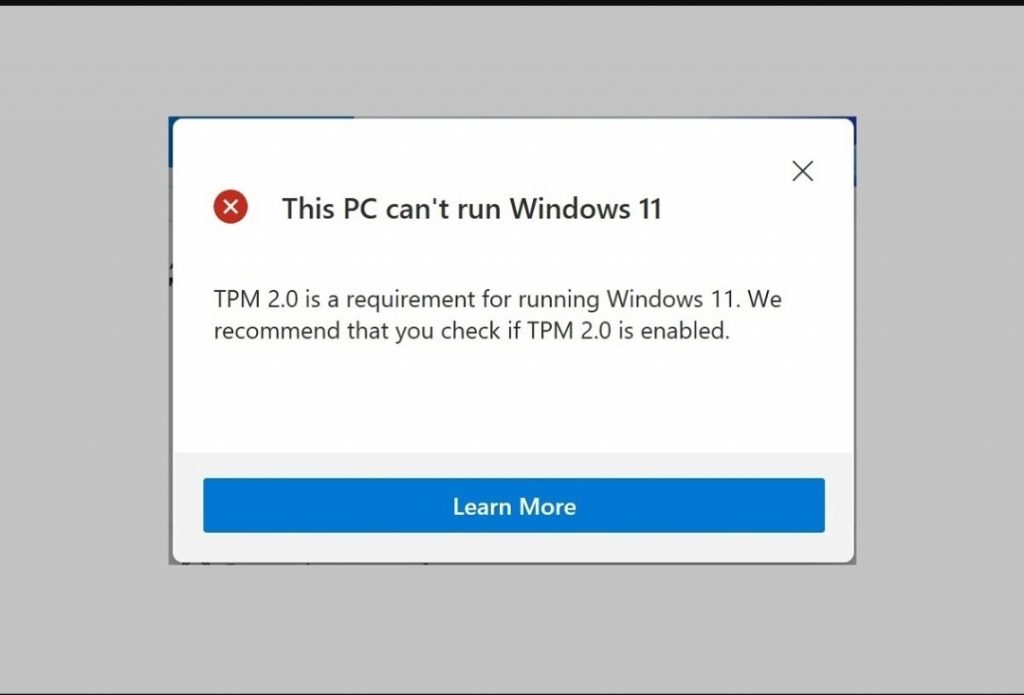
If your mainboard does not have a TPM 2.0 chip installed (and cannot be upgraded with it), you cannot use Windows 11.
- In addition to activated “Secure Boot “, Windows 11 also requires TPM 2.0 for installation – see system requirements.
- For Windows 10, the older TPM version 1.2 was sufficient.
- Fortunately, TPM 2.0 is supported as of Windows 8.
- However, this is of no use if the mainboard does not have a corresponding TPM chip installed.
- You can easily find out whether this is the case with you.
Does my computer have TPM 2.0?
If you later your computer in 2018 or bought or self-assembled have a TPM chip in version 2.0 should be available on your motherboard. You can check this as follows:
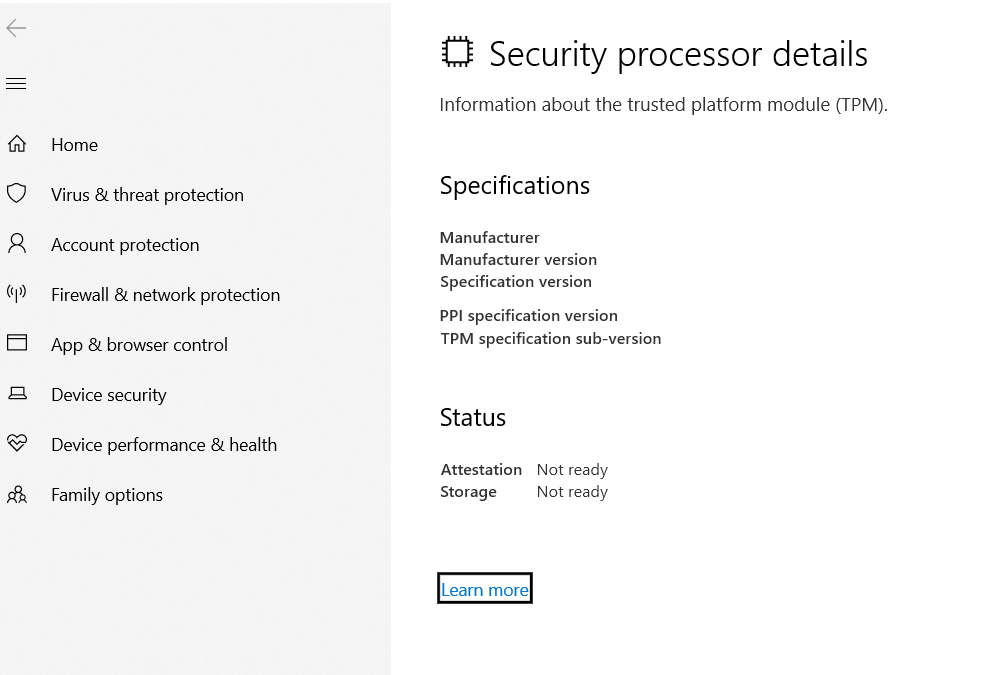
- Open the start menu, type in the security chip and click on the search result.
- Windows will now show you the information on your TPM chip.
- Next to “ Specification Version ” should be 2.0.
- If it only says version 1.2, your computer only has the older TPM 1.2 chip and you cannot install Windows 11.

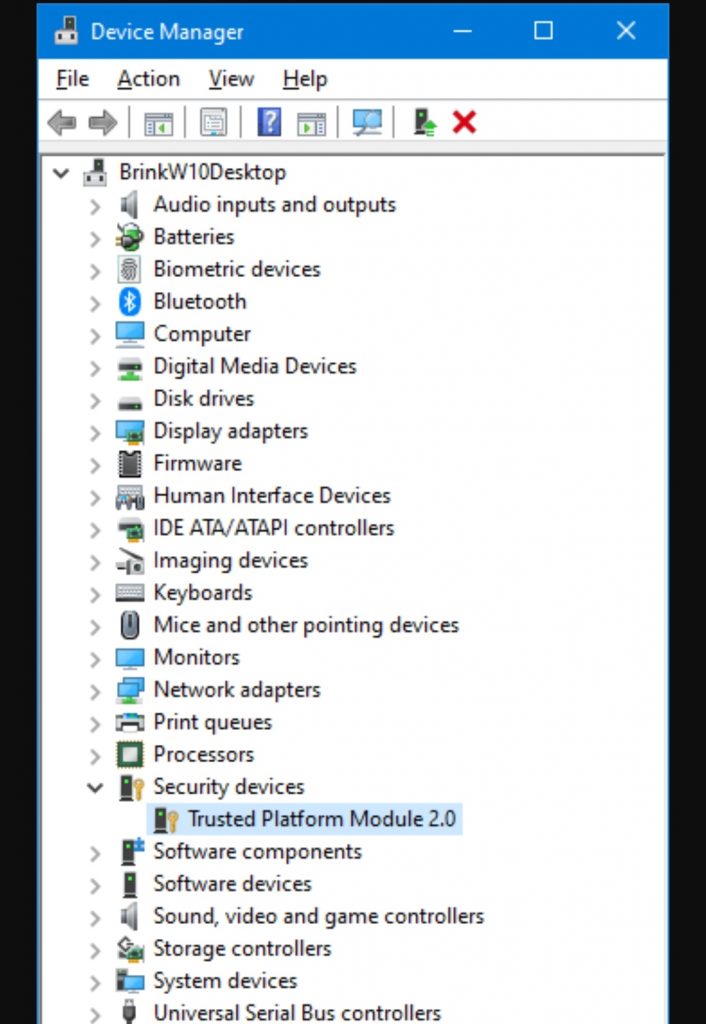
Alternatively, you can also open the device manager by pressing the key combination [ Windows ] + [ R ], typing in devmgmt.msc and confirming with [ Enter ]. Then open the entry ” Safety devices “. If it says ” Trusted Platform Module 2.0 “, you have TPM 2.0.

A third method: Open the Run window with the key combination [ Windows ] + [ R ], type in tpm.msc and press [ Enter ]. The most important TPM information is also displayed here.
No compatible TPM was found
If Windows shows you that no compatible TPM was found, TPM is very likely disabled in your BIOS. Under certain circumstances you can activate it in the BIOS.

How can I activate TPM?
- Restart your PC if it is running.
- At startup, you quickly press the correct key to open the BIOS . Mostly this is [F2] or [Del] or [Del].
- Look for the tab or section ” Security ” in the BIOS .
- If possible, activate TPM (“TPM On”).
- Then exit the BIOS and save the changed settings (“Save Changes”).
- When Windows has started, you check again with the above methods which TPM version is displayed to you.
TPM 1.2 only – what to do?

If you could not activate TPM or you only have TPM 1.2, you can perhaps retrofit a TPM 2.0 chip on your mainboard. So first find out which mainboard you have. Our photo series shows how it works:
Then look for your model in connection with TPM chips in the associated instructions or on the Internet. If you have a high-quality mainboard, you should be able to use a TPM 2.0 chip there.
What do you think about TPM 2.0? Is it useful or a reason to switch to Linux? Please write us in the comments.