Uninstalling and rolling back an update in Windows 11 can be a necessary task when you are faced with performance issues, software incompatibilities, or simply want to go back to a previous version of the operating system because it worked better.
Uninstalling and reverting an update in Windows 11 can be an important task if you are having problems with your computer due to lack of performance or lack of stability.
It may happen that a recent update has caused software conflicts, hardware compatibility problems, or you simply don’t like what they have changed.
That is why it is interesting to have knowledge of how to revert these changes and return to a previous version of Windows 11 to ensure that your computer works optimally again.
Today you’ll learn how to use the tools built into Windows 11 to get rid of problematic updates and ultimately have more complete control over your own operating system.
With this information, you can keep your PC in optimal condition and ensure that your Windows 11 experience is as smooth and satisfying as possible. Find out how to uninstall and roll back a Windows 11 update:
Roll back update in Windows 11 using settings
The first way to uninstall and revert a Windows 11 update that you will be able to read is to use the Windows 11 settings, more specifically Windows Update.
This section of Windows 11 is where you see possible downloads, but also existing and past ones. The steps you must follow are these:

- Right-click the Start icon and select Settings from the list that appears.
- Go to Settings and, on the left side, click Windows Update.
- Now head to Update History.
- Click Related settings and Uninstall updates.
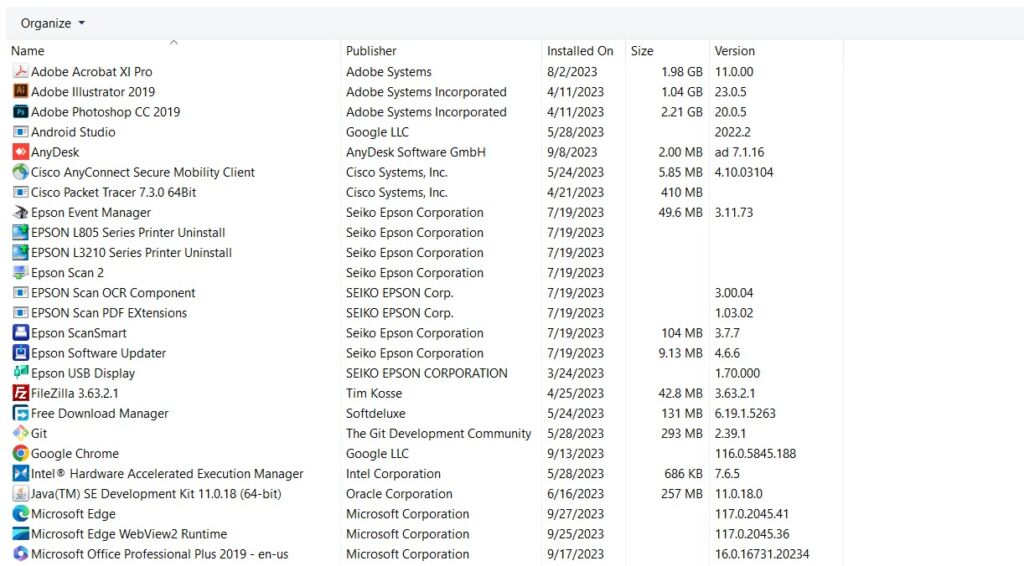
- You will see a list of updates installed on your computer. To remove the one you want, select it from the list and press Uninstall at the top.
Uninstall Windows 11 Update with Command Prompt
Another way to uninstall and roll back a Windows 11 update is to use the command prompt. These are the steps you must execute:
- Type Command Prompt in the taskbar and select Run as administrator.
- At the command prompt, copy and paste the following command to view Windows update history: wmic qfe list brief /format:table

- Note the KB number of the Windows update you want to remove.
- Run the following command to remove a Windows update: wusa /uninstall /kb:number
- Replace number in the previous command with the KB number you noted before.
- Choose Yes to continue when the dialog box named Windows Update Standalone Installer appears.
- Wait a few minutes and Windows will remove the update you indicated.
Uninstall and roll back update with recovery environment
If you need another way to roll back the update in Windows 11, you can probably do it using the operating system recovery environment.
You must start the computer in the special mode of the Recovery Environment and from there solve the problem. This is what you should do:
- Restart your system, as you normally do, but now holding down the left Shift key at the same time. You must hold it there during the reboot, without releasing it until a blue menu called Choose an option appears.
- Select Troubleshoot and then Advanced Options.
- Now click on Uninstall updates.
- You will find two options: Uninstall the latest quality update and Uninstall the latest feature update.
- Choose Uninstall the latest quality update and select it.
- You will have to enter your password to confirm your identity, and then click Continue. Once you have uninstalled the update, Windows 11 will boot as usual.
Roll back and uninstall update with control panel
As the last option to uninstall and roll back a Windows 11 update, you have the control panel. These are the steps you must follow:

- Press and hold Windows key + R to open the Run box.
- Then, type control and press Enter.
- In the top right corner, use the drop-down menu to change the view to large icons.
- Go to Programs and Features.
- Select View installed updates on the left side.
- Now simply right click on the update you want to delete and select Uninstall.
- After that, click Yes to make sure you want to delete it.
In conclusion, uninstalling and rolling back an update in Windows 11 is an essential process to ensure that your PC runs efficiently and smoothly in some cases.
If you find yourself facing problems after an update or simply want to go back to a previous version of Windows 11 because it worked better, you can follow the steps you have read in this article.
Even so, always remember to create a backup of your important data before making any changes to your operating system to avoid data loss.
Now that you know how to uninstall and roll back a Windows 11 update, you’ll have more freedom to get everything working as it should.
Also Read | How to Recover Deleted Files in Windows 11 Without Using Programs


