If you enable hardware acceleration, it makes computers run much smoother and perform better. We show you how to activate this small setting with two different methods.
Windows 10 has an incredible variety of settings and configurations to improve the performance of computers. A few days ago we told you everything that had to be done to speed up the PC in less than a minute, today we bring you a somewhat more advanced tutorial that involves playing with hidden settings within the Windows 10 configuration menu. You can also read how to control CPU usage in Windows 10 in our previous post.
What we are going to do is activate hardware acceleration in order to make the computer open faster programs that are heavy or that need graphic power. By activating hardware acceleration, the computer will combine all its forces (GPU and CPU) in order to offer maximum performance at all times and avoid small power dips.
There are two methods when it comes to activating hardware acceleration, the first method is the most comprehensive and is the one that works on any computer. The second method is much more specific and, in fact, when I tried it on my desktop computer, I did not see the necessary option to continue.
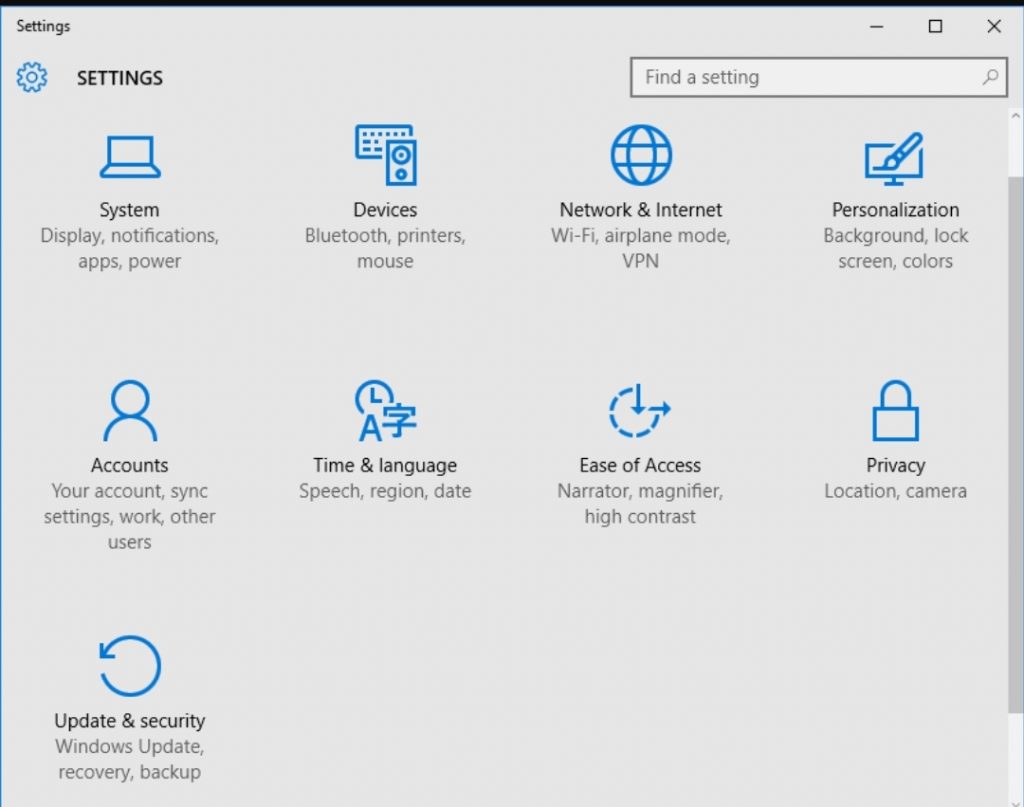
To perform the first method we only have to go to the Windows 10 configuration menu, once in this menu you have to select the System section and after that, go to the Screen subsection. It is in the Screen section where the option we are looking for will appear, it is almost at the end of this subsection.
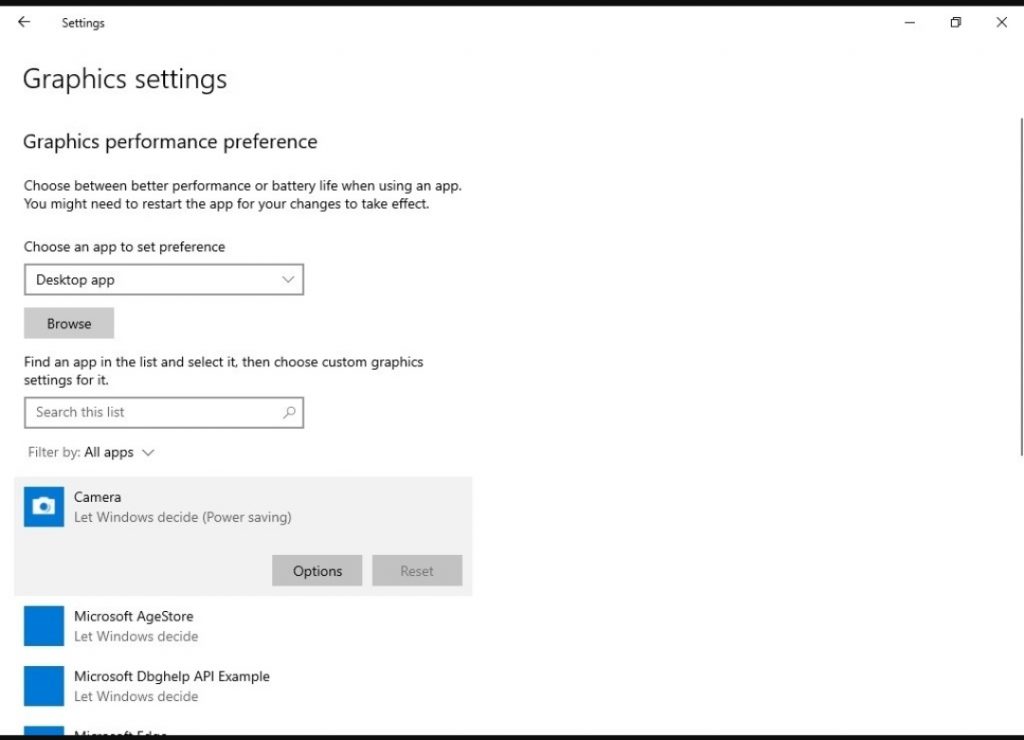
The option is called “Graphics Settings” and once inside it will show us an option in which we can activate hardware acceleration. This switch can be used at will to activate or deactivate if it does not convince us. When activating the option, all that remains is to restart the computer for the changes to take effect.

The second method will depend on the components of the computer and the system itself may not offer you the necessary options to activate hardware acceleration. In any case, if you have done the first method, it would already be activated correctly. This method is for those more advanced users who prefer to activate the option manually.

- Right click on the desktop to bring up the option “Display Settings” and left click.
- In “Screen configuration” you have to go to where it says “Advanced screen configuration” and enter that menu.
- Once inside the advanced display settings, open the menu called “Show display adapter properties”.
- Within “Show the display adapter properties” we have to check if a tab appears called “Troubleshoot” in case it does not appear, our PC does not support this method.
- If the “Troubleshoot” tab appears, but when you change the options it turns gray and flashes, your computer does not support this method.
- If the “Troubleshoot” tab allows us to activate hardware acceleration without any warning, it means that the equipment is compatible and you just have to press “OK” for the changes to take effect.